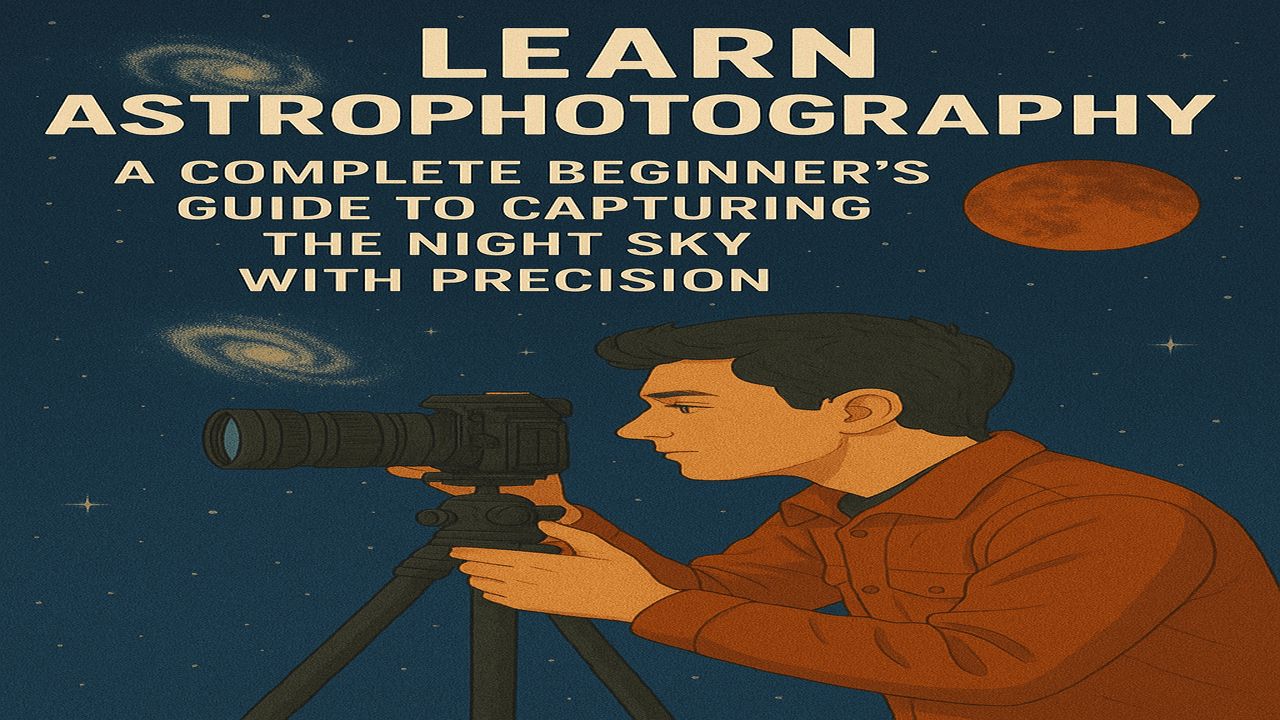
Astrography, or astrophotography, is the art and science of capturing celestial objects using a camera—bringing the night sky to life through stunning visual imagery. Whether you aim to photograph the Moon, planets, star clusters, or deep-sky galaxies, learning astrography will open a new dimension of astronomical appreciation and creativity.
This comprehensive guide is designed for beginners and intermediate-level learners who want to explore the fundamentals of astrography, understand the tools involved, and start producing spectacular astrophotos with clarity and precision.
What Is Astrography?
Astrography is a sub-discipline of photography dedicated to photographing astronomical objects. Unlike daytime photography, astrography requires careful planning, advanced tools, and specific knowledge of the sky, light, and long-exposure techniques.
 South Africa Weekend Weather September 2025 – Provinces Alerted of Dangerous Rain Conditions
There are different types of astrography:
- Wide-Field Photography – Captures constellations and the Milky Way.
- Lunar and Planetary Imaging – High-contrast photos of the Moon and planets.
- Deep-Sky Imaging – Focused on nebulas, galaxies, and star clusters using long exposures.
- Time-Lapse Imaging – Shows the apparent motion of stars or meteor showers over time.
Why Learn Astrography?
Learning astrography enhances your understanding of astronomy, optics, and celestial dynamics. It allows you to:
- Document rare astronomical events (eclipses, comets, ISS flyovers).
- Share educational visuals in schools and communities.
- Support citizen science projects like asteroid tracking.
- Participate in global photo contests and gain visibility.
- Monetize your hobby via prints, NFTs, or stock image platforms.
Equipment You’ll Need
You don’t need a million-dollar setup to begin. Many beginners start with just a smartphone or DSLR and gradually upgrade. Here’s a breakdown:
🔭 Basic Setup
- DSLR or Mirrorless Camera
- Wide-Angle or Telephoto Lens (18–55mm or 75–300mm)
- Sturdy Tripod
- Remote Shutter or Intervalometer
- Dark Sky Location (away from light pollution)
🔬 Advanced Setup (For Deep-Sky Imaging)
- Equatorial Mount with Tracking
- Auto-guiding System
- Dedicated Astro Camera (CMOS/CCD)
- Filters (Light Pollution, H-alpha, etc.)
- Laptop with Stacking & Editing Software
Learning the Techniques
1. Start with the Moon
The Moon is bright and easy to locate. Use a zoom lens or a telescope with smartphone adapter. Shoot in manual mode, adjusting ISO (~100-200), aperture (f/11), and shutter speed (~1/125s).
2. Track Stars Using Long Exposure
Try wide-field shots of constellations using long exposure (15–25 seconds), low ISO (800–1600), and a wide aperture. Use the “500 Rule” to avoid star trails:
3. Stacking for Deep-Sky Objects
 September 2025 R12,500 Youth Grant – Application Window Open With Step-by-Step Instructions
Take multiple short exposures (sub-frames) and stack them using software like DeepSkyStacker or Sequator. This reduces noise and increases detail visibility.
4. Post-Processing
Use software like Adobe Lightroom, Photoshop, or PixInsight to bring out colors, details, and reduce noise. Post-processing is 50% of the magic in astrography.
5. Use Planetarium Software
Use tools like Stellarium, SkySafari, or Star Walk to plan your sessions and locate objects before shooting.
Best Practices
- Always shoot in RAW format for better editing flexibility.
- Scout your location during the day to ensure safety.
- Use a red light headlamp to preserve night vision.
- Check weather conditions and moon phase before heading out.
- Follow dark sky ethics – minimize light pollution and leave no trace.
Join the Community
Learning astrography becomes more fulfilling when shared with others. Join these platforms:
- Online Forums: Cloudy Nights, AstroBin, Reddit’s r/astrophotography
- Local Clubs: Participate in skywatch events or imaging camps
- Instagram/Flickr: Share your shots and get feedback
- Citizen Science Projects: Contribute images to NASA Globe Observer or Galaxy Zoo
Common Challenges and How to Overcome Them
| Challenge | Solution |
|---|---|
| Star trails or blurry images | Use a tracker or shorten exposure |
| Light pollution | Use narrowband filters or travel to dark sky sites |
| Focus issues | Use Bahtinov mask or live view at max zoom |
| Battery drain | Carry spares or use an external power bank |
| Cold weather | Use dew shields and protect your gear |
How to Keep Learning
- Follow leading astrographers like Thierry Legault, Damian Peach, or Andrew McCarthy.
- Subscribe to channels like AstroBackyard, Nebula Photos, or Peter Zelinka on YouTube.
- Take free or paid courses via Udemy, Coursera, or Sky & Telescope workshops.
Turning Passion Into Purpose
Astrography isn’t just a hobby—it can be your path to:
- Science Communication: Publishing articles or guides
- Educational Outreach: Teaching students through visual storytelling
- Entrepreneurship: Selling prints, calendars, or conducting workshops
Some even turn professional by contributing images to observatories, working with space agencies, or documenting time-sensitive celestial events.
Learning astrography is a journey of patience, experimentation, and discovery. Each image you capture is not just a photo—it’s a timestamp of the cosmos, frozen through your lens. It’s where science meets art.
So whether you’re shooting the Moon with your phone or capturing the Orion Nebula through a telescope, you’re documenting the universe in your own light.
Start where you are. Use what you have. And let the stars be your canvas.


